
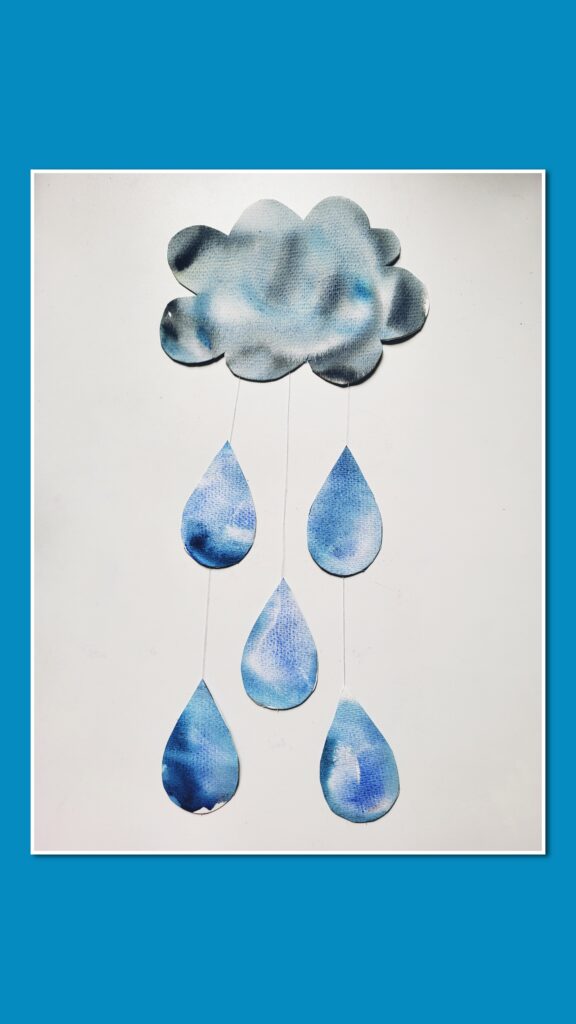
Rainy days can be full of wonder—and what better way to capture that feeling than with this charming cloud and raindrop craft? Using just a few simple materials like watercolor paper, thread, and scissors, this project is perfect for kids and adults alike who want to bring a bit of weather-inspired whimsy indoors. Whether you’re exploring a weather theme, decorating a classroom, or simply looking for a relaxing weekend activity, this craft is easy to make and visually striking. Let’s get started on bringing the rain to life – no umbrella needed!
Materials you’ll need:
- Watercolor paper or thick cardstock
- Watercolor paints in shades of blue and grey
- Paintbrush and water
- Scissors
- Pencil (for sketching shapes)
- String or thread
- Glue
Step-by-step Instructions:
1. Draw shapes and paint your paper
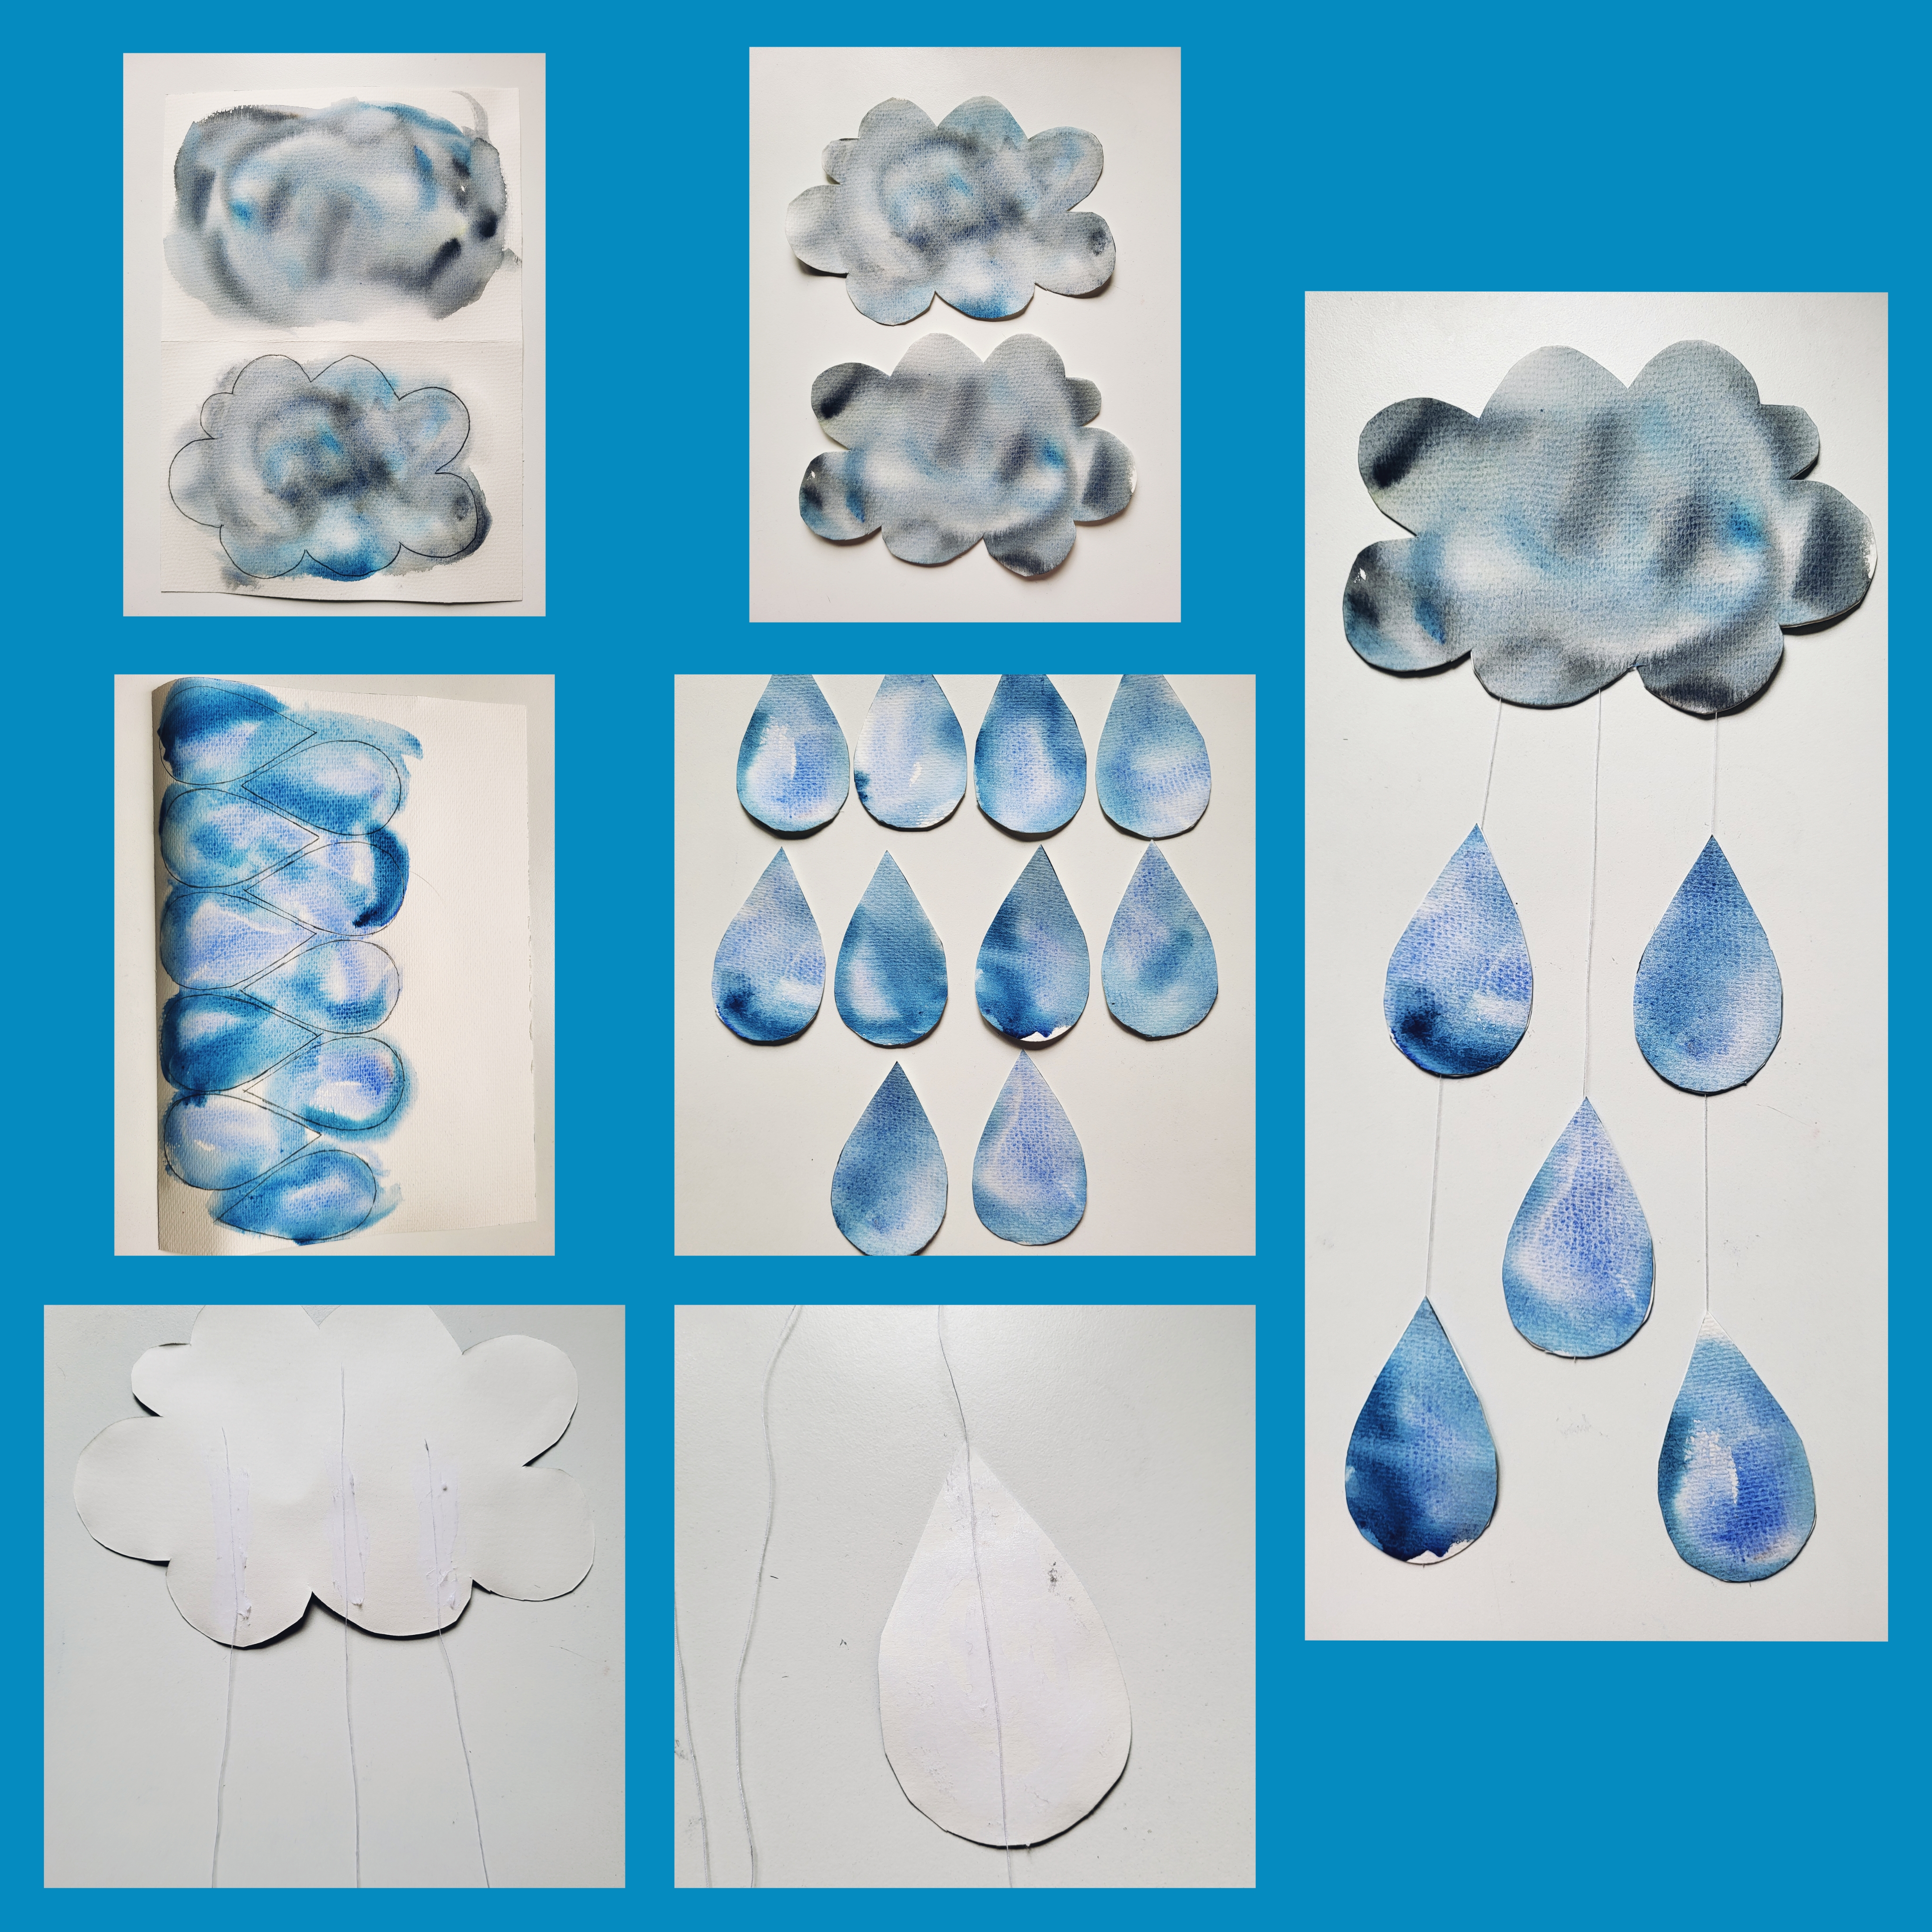
First fold a paper in half. On one half draw a big cloud. Start by applying watercolor paint to a sheet of paper. Use grey and blue tones for the cloud. Let the paint blend naturally for a soft, cloudy effect. Paint both halves of the paper and allow the paper to dry completely.
2. Make the raindrops
Use a small piece of paper to draw a raindrop, cut it out and use this as a template for other raindrops. On a new sheet of paper draw 10 same raindrops by using the template you have made. Then start applying watercolor paint to the raindrops. Use grey and blue tones for the raindrops. Let the paint blend naturally for a soft, watery effect.
3. Cut out all the shapes
Once dry fold the cloud paper in half and start cutting out the cloud, make sure you are cutting both halves of the paper together. Then cut out all the raindrops carefully using scissors. Cut several lengths of thread or string—one for each raindrop. Attach one end of each string to the back of a raindrop using glue or tape. Then, attach the other end to the back of the cloud.
4. Attach the String
Cut 3 strings or threads of different sizes. Use a glue stick to apply glue to the back of one of the clouds. Then place the string on the glued cloud and glue the two clouds together. The strings or threads will be hanging down from the cloud. Take 1 raindrop and apply it on the back of it, place the raindrop under the string and make sure the string is going down the centre of the raindrop, then take another raindrop and stick it to the first raindrop making sure the painted side is on the top.
Once all the raindrops are attached, you can hang your cloud from a wall, ceiling, or window using a small hole punch at the top of the cloud or by gluing a loop of string to the back.
5. Display and enjoy!
Hang your finished craft somewhere it can gently sway and catch the light. It’s a beautiful, calming piece that brings a bit of weather-inspired beauty indoors.
Tips for Teachers & Homeschoolers
This craft is not only fun—it’s a great educational tool too! Here are a few ways to integrate it into your lessons:
🌧 Weather unit
Use this craft as part of a weather-themed lesson. Talk about clouds, types of precipitation, and the water cycle. Ask kids to describe what kind of cloud they think they’ve made!
🎨 Art and color theory
Let children experiment with blending different shades of blue and grey. Discuss how colors mix and create mood in art.
✂️ Fine motor skills
Cutting, painting, threading, and gluing help develop fine motor coordination—perfect for preschool and early elementary ages.
🧠 Creative writing prompt
Have kids write a short story or poem about a rainy day or a cloud’s journey across the sky. They can hang their writing next to the craft for a mini classroom gallery.